Step-by-Step
1
Create a Wappfy Account
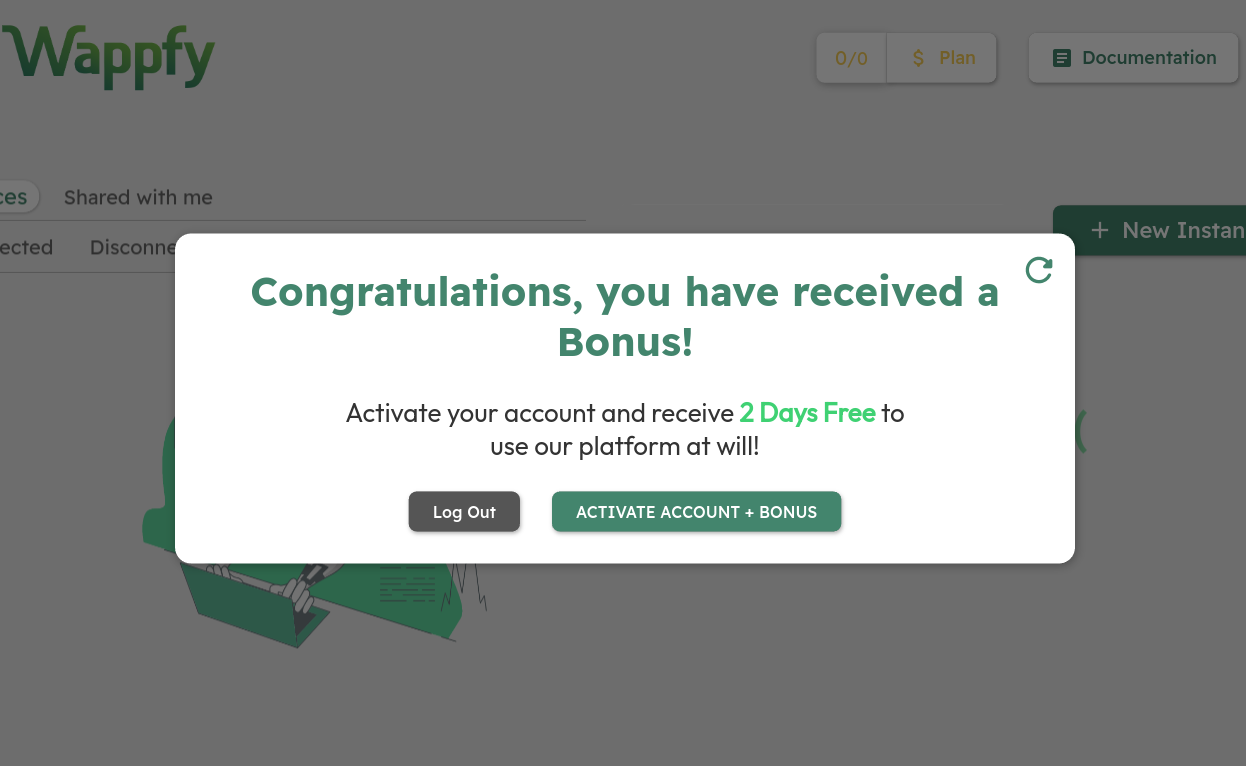
Create and activate your account through the Dashboard.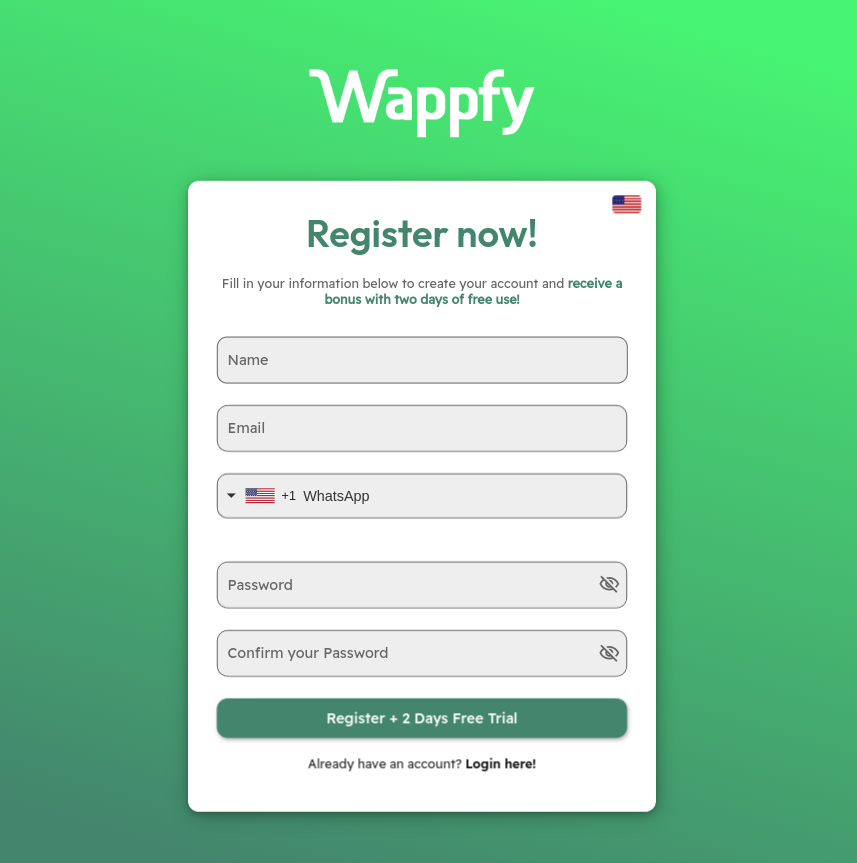


2
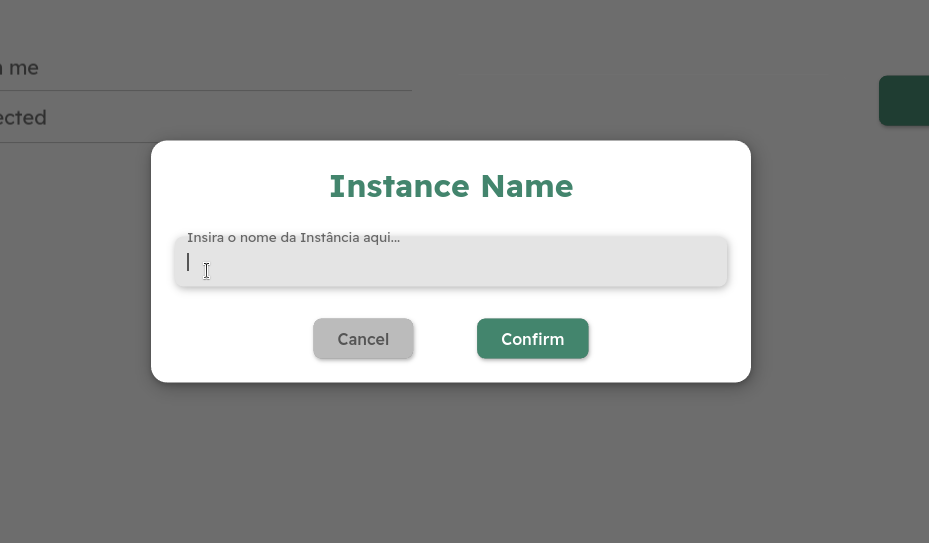
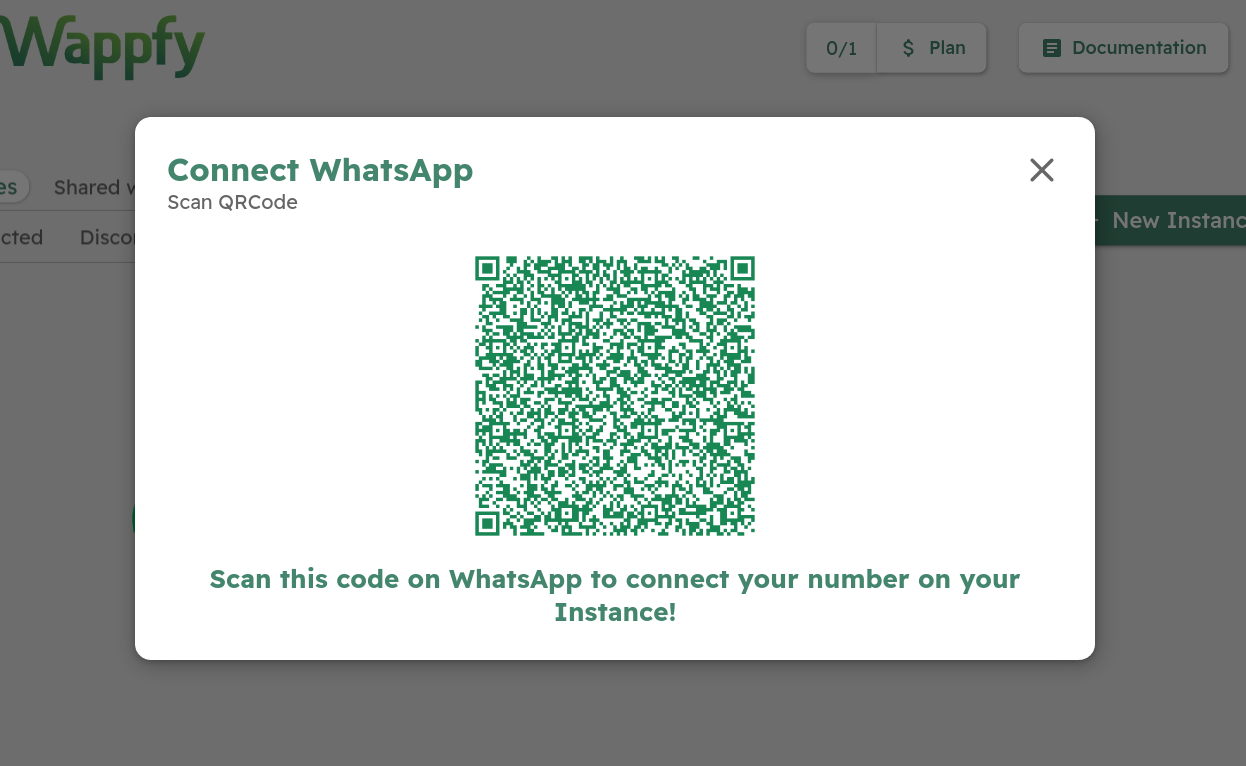
Create an Instance
Create an instance and connect your WhatsApp number.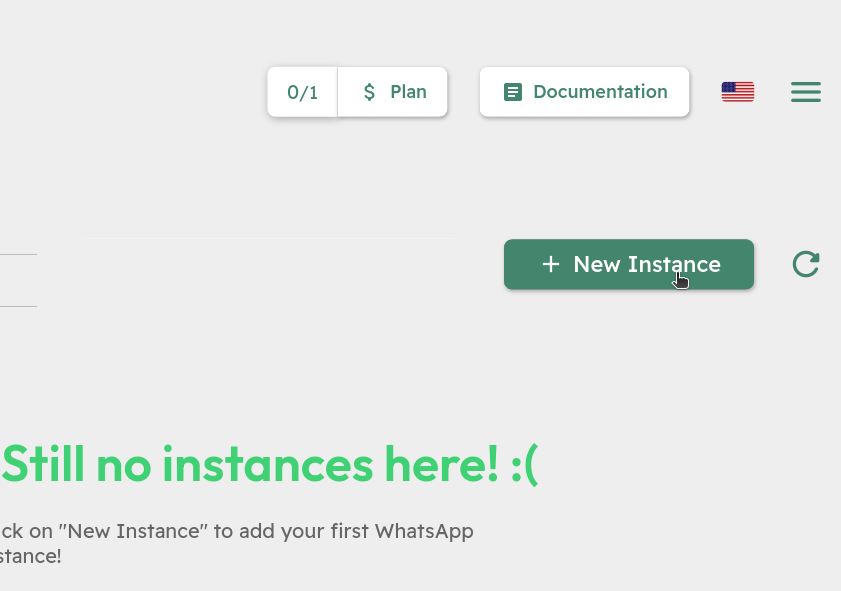


3
Integrate with GHL
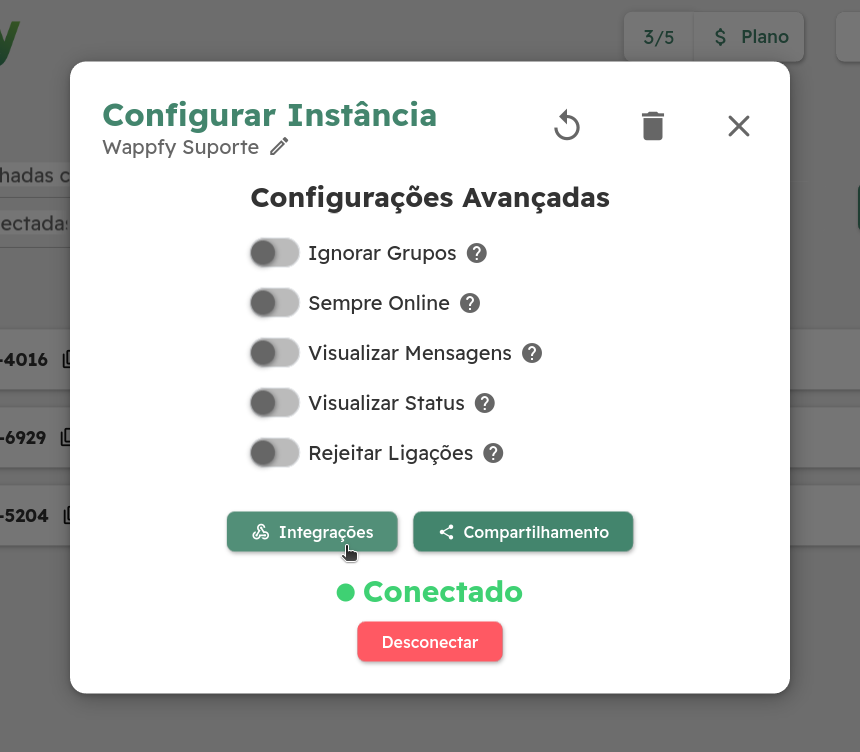
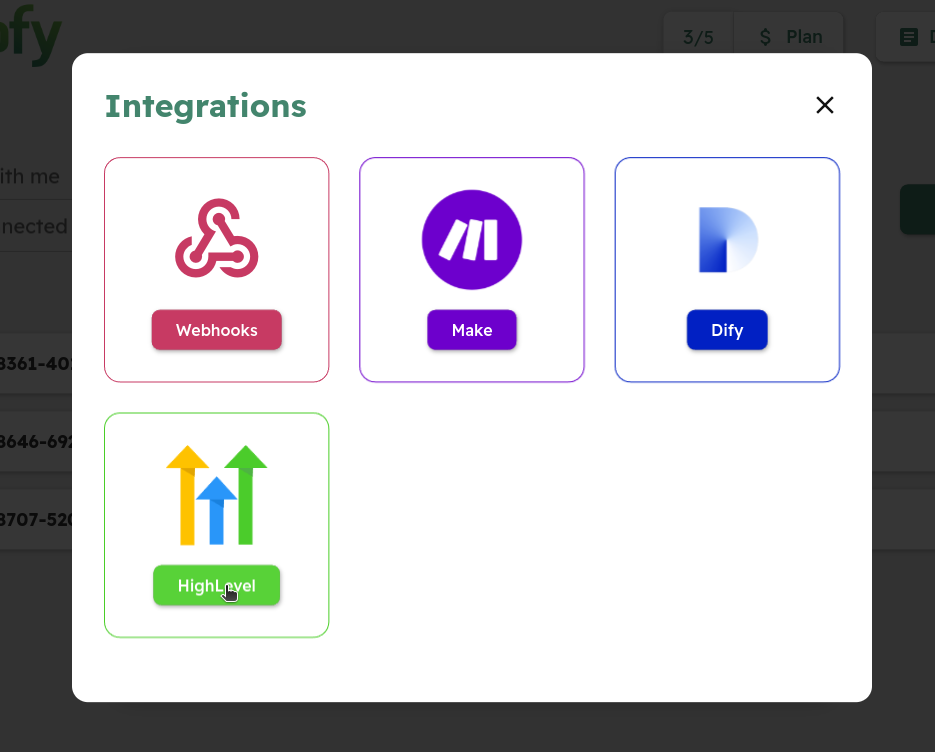
Access the integrations tab, and click on GoHighLevel to authenticate with GHL.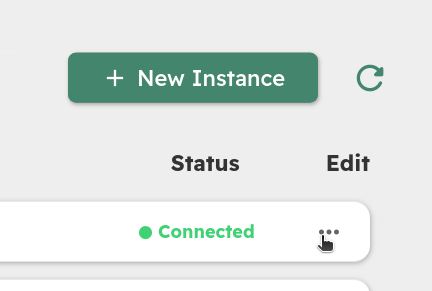


4
Authenticate with GHL
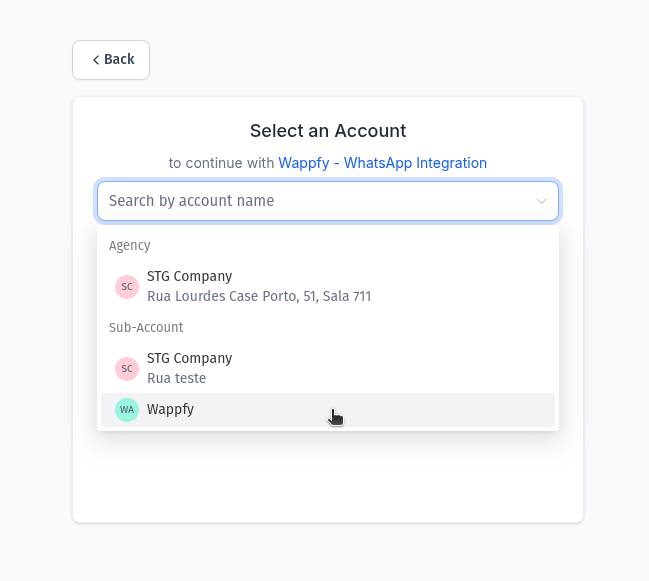
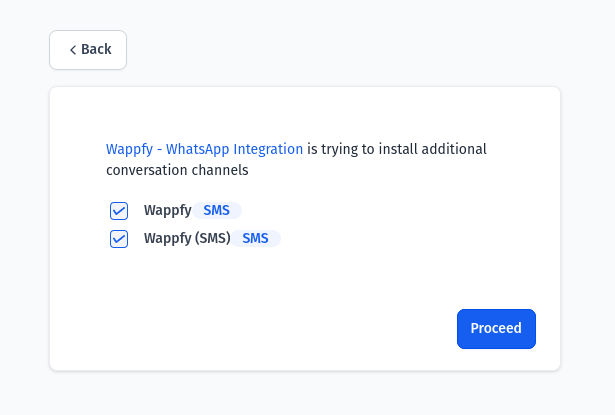
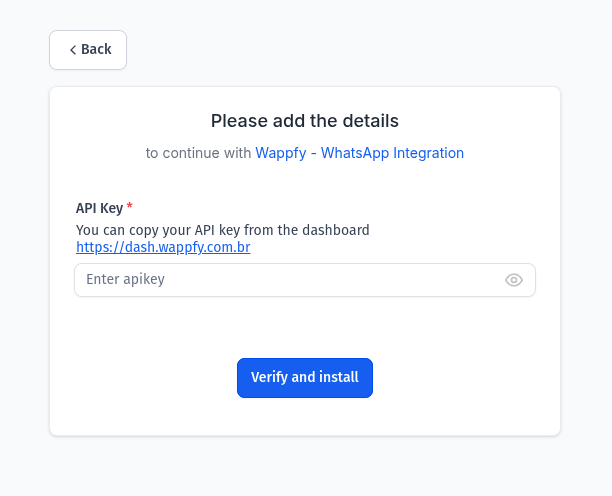
I. You’ll be redirected to a new tab, where you can log into your GHL account if you aren’t already logged in.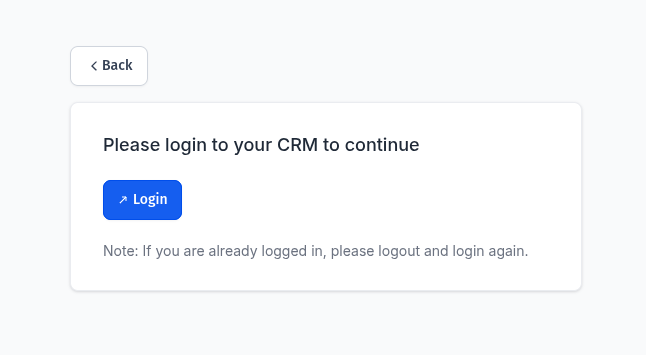 II. Select your account (Sub-Account) and install Wappfy on it.


5
Finish Integration
Our system will confirm the integration with GHL.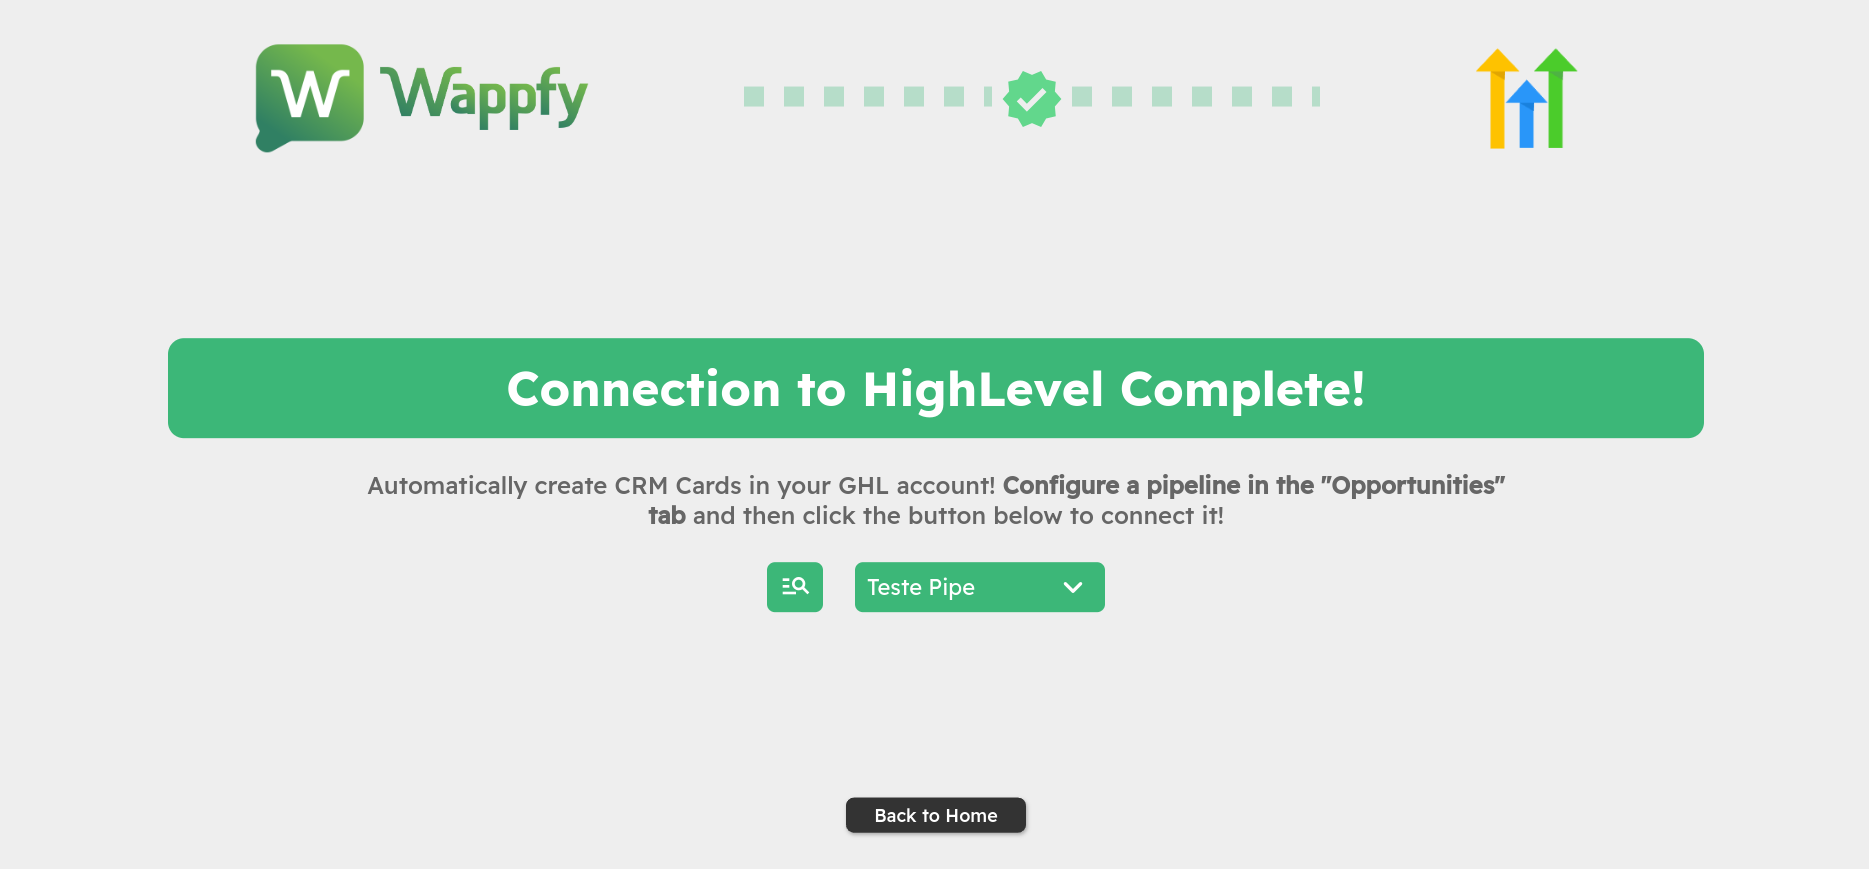

6
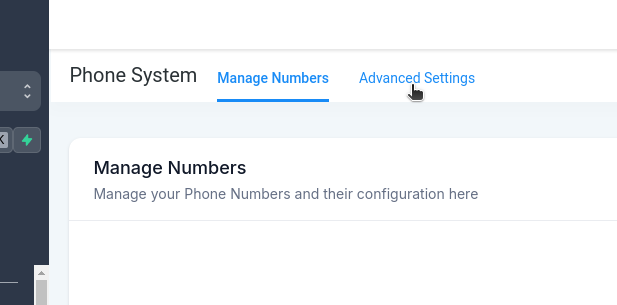
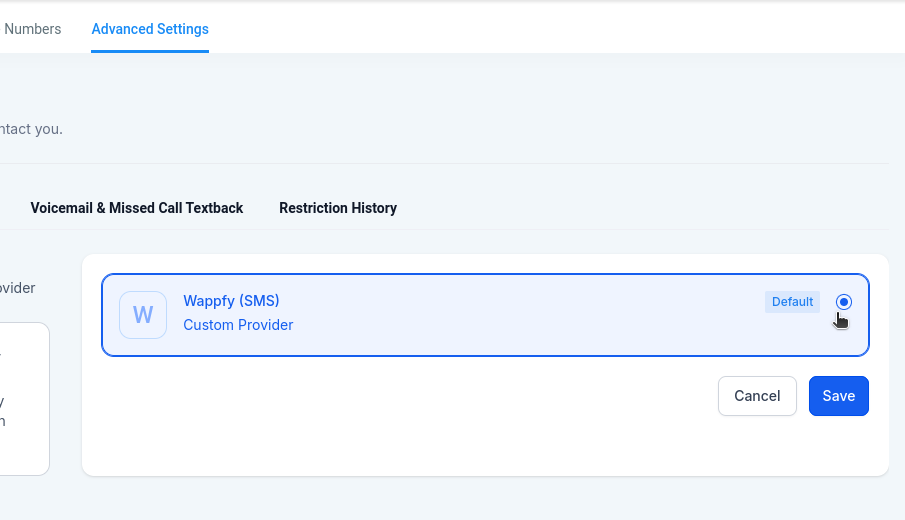
Set Wappfy as SMS Provider
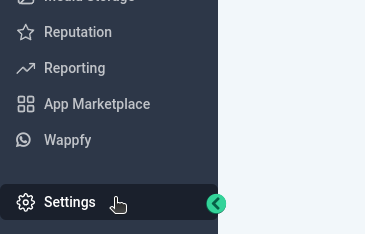
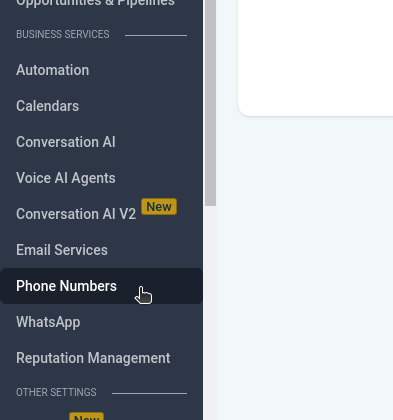
For the integration to work 100%, you will need to activate Wappfy as the default SMS provider for your GHL sub-account..
7
Finished!
Once done, you’ll be able to respond to your clients through GHL and have control over all conversations conducted via WhatsApp.
Bonus
1
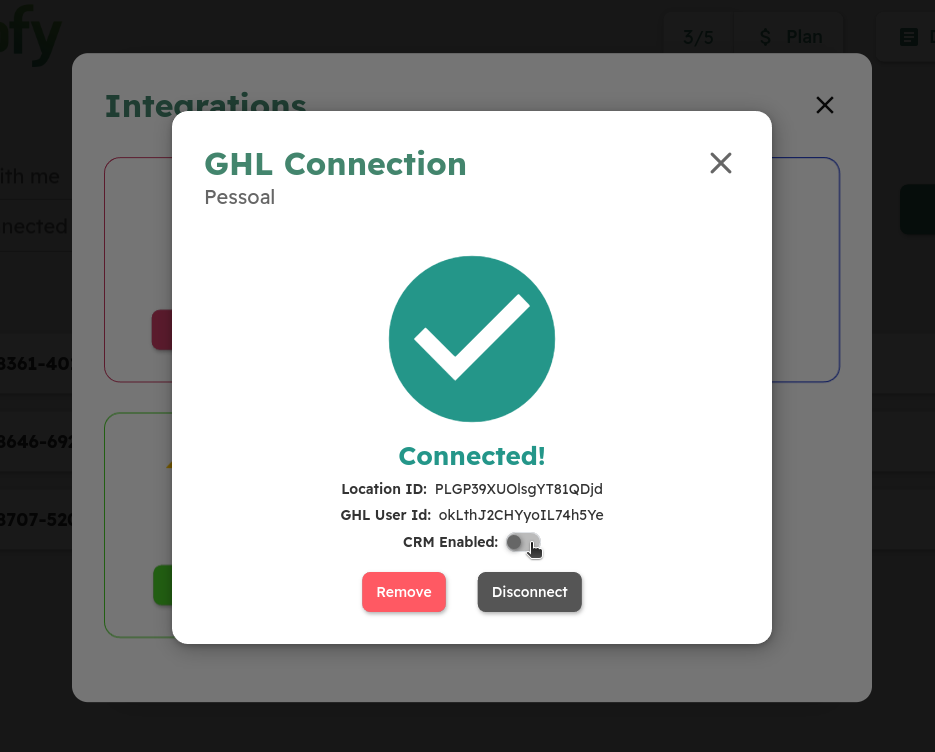
GHL Connection Settings
2
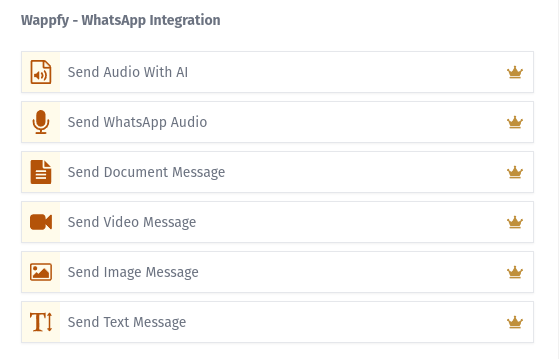
Workflow Premium Actions
