> ## Documentation Index
> Fetch the complete documentation index at: https://docs.wappfy.com.br/llms.txt
> Use this file to discover all available pages before exploring further.

# Integration with GoHighLevel

> Step-by-step on how to integrate with GHL

## Step-by-Step

<Steps>
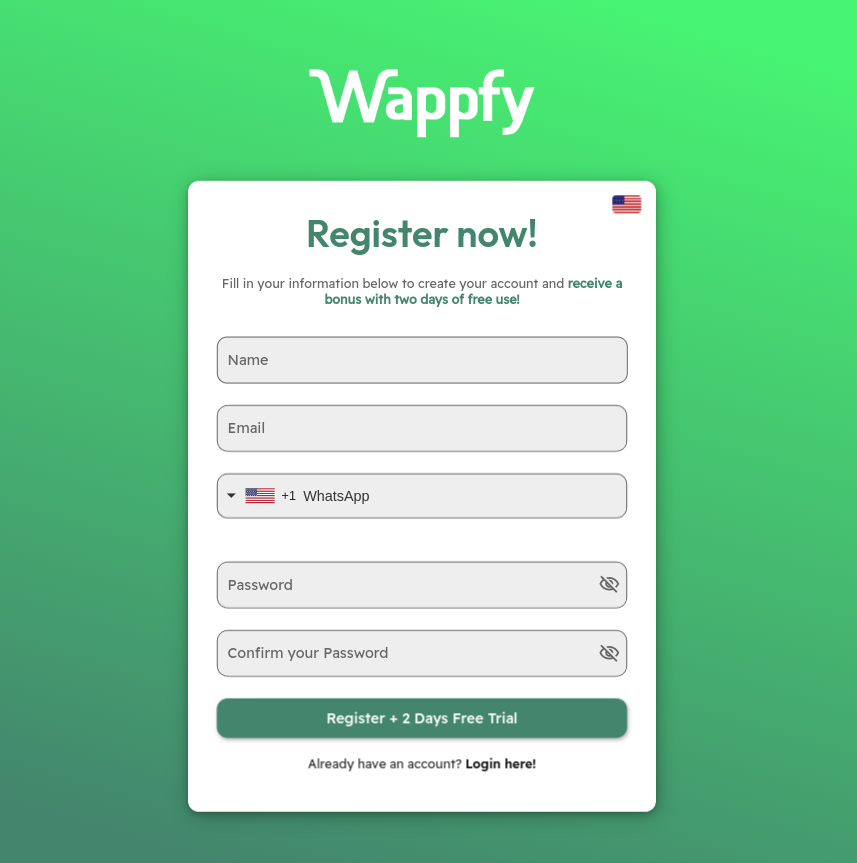
  <Step title="Create a Wappfy Account">
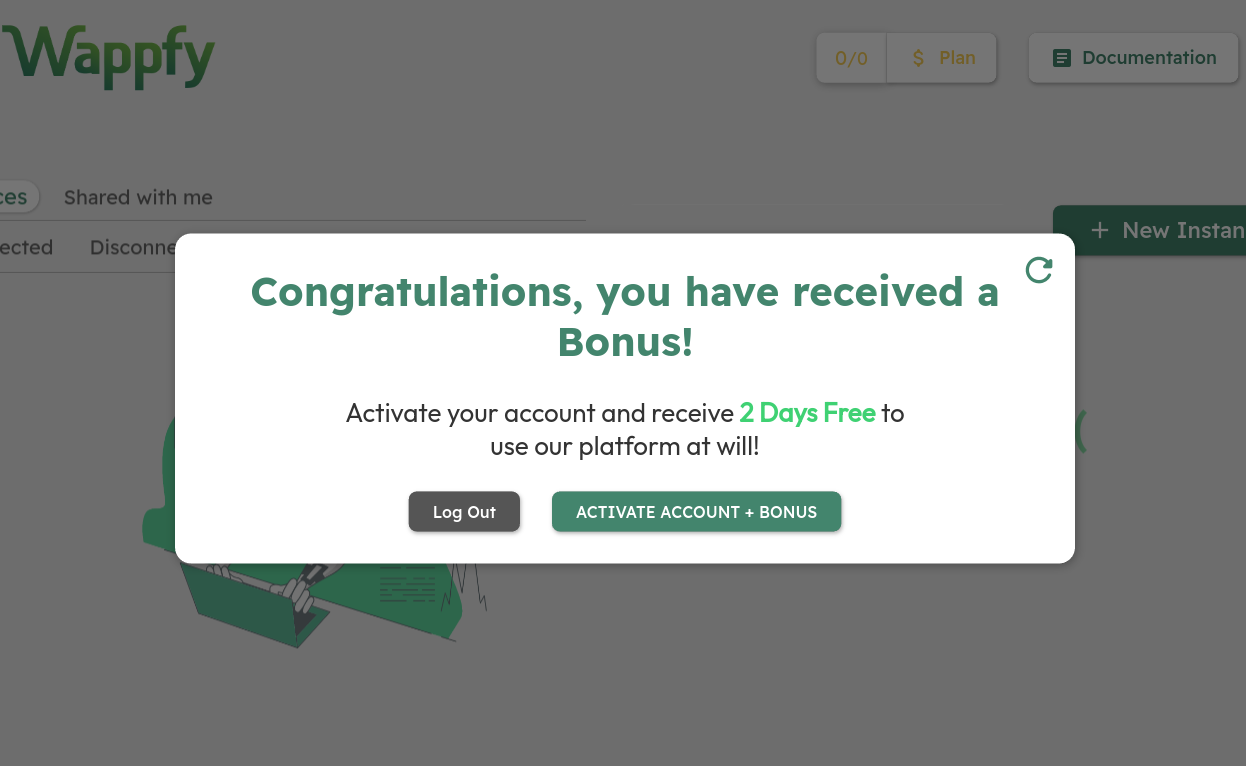
    Create and activate your account through the [Dashboard](https://dash.wappfy.com.br).
    <Frame>
      <img width="300" src="https://mintcdn.com/stgcompany/TAy5IIm4Yq3mr8PO/en/assets/ghl/1_signup.png?fit=max&auto=format&n=TAy5IIm4Yq3mr8PO&q=85&s=193bce123de03591df299f9d9c536120" data-path="en/assets/ghl/1_signup.png" />

      <img width="490" src="https://mintcdn.com/stgcompany/TAy5IIm4Yq3mr8PO/en/assets/ghl/2_buy.png?fit=max&auto=format&n=TAy5IIm4Yq3mr8PO&q=85&s=077594b7cbcc3c079c34eb0b30f41242" data-path="en/assets/ghl/2_buy.png" />
    </Frame>
  </Step>

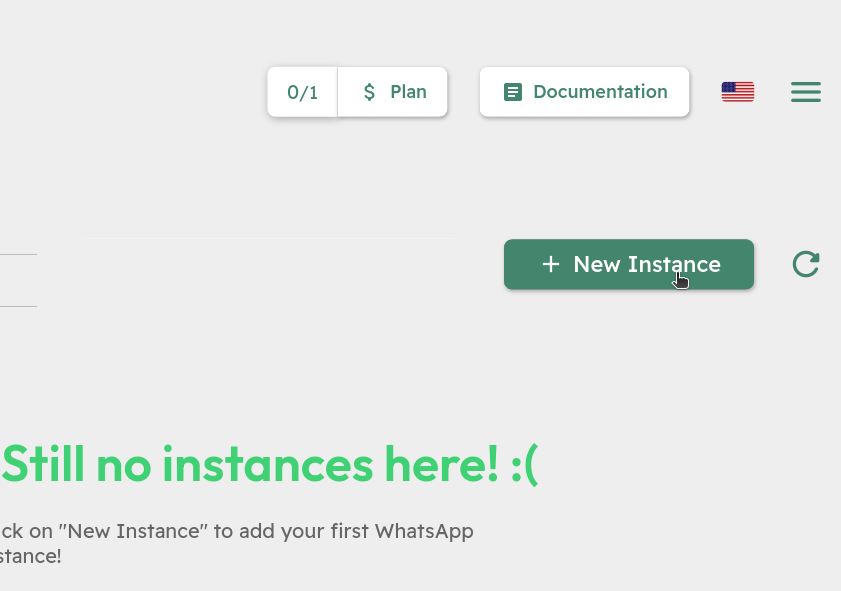
  <Step title="Create an Instance">
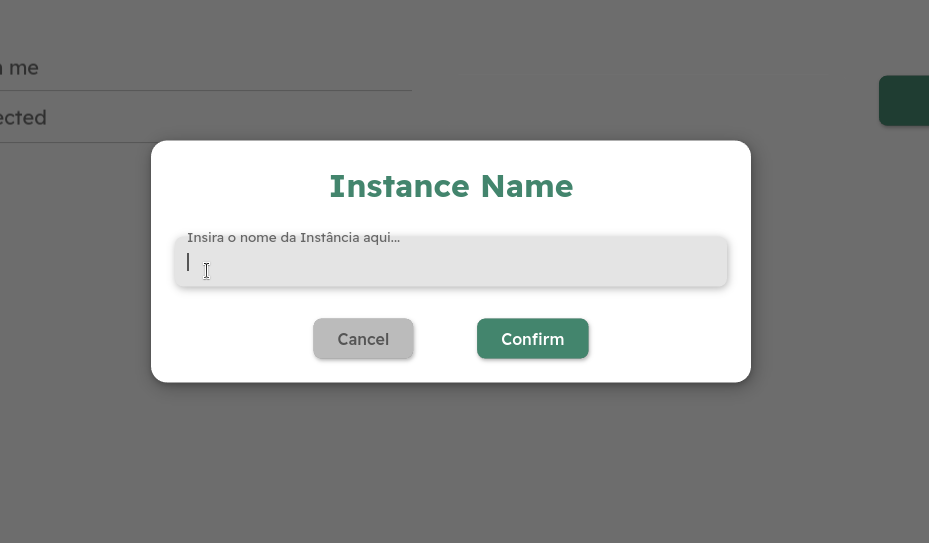
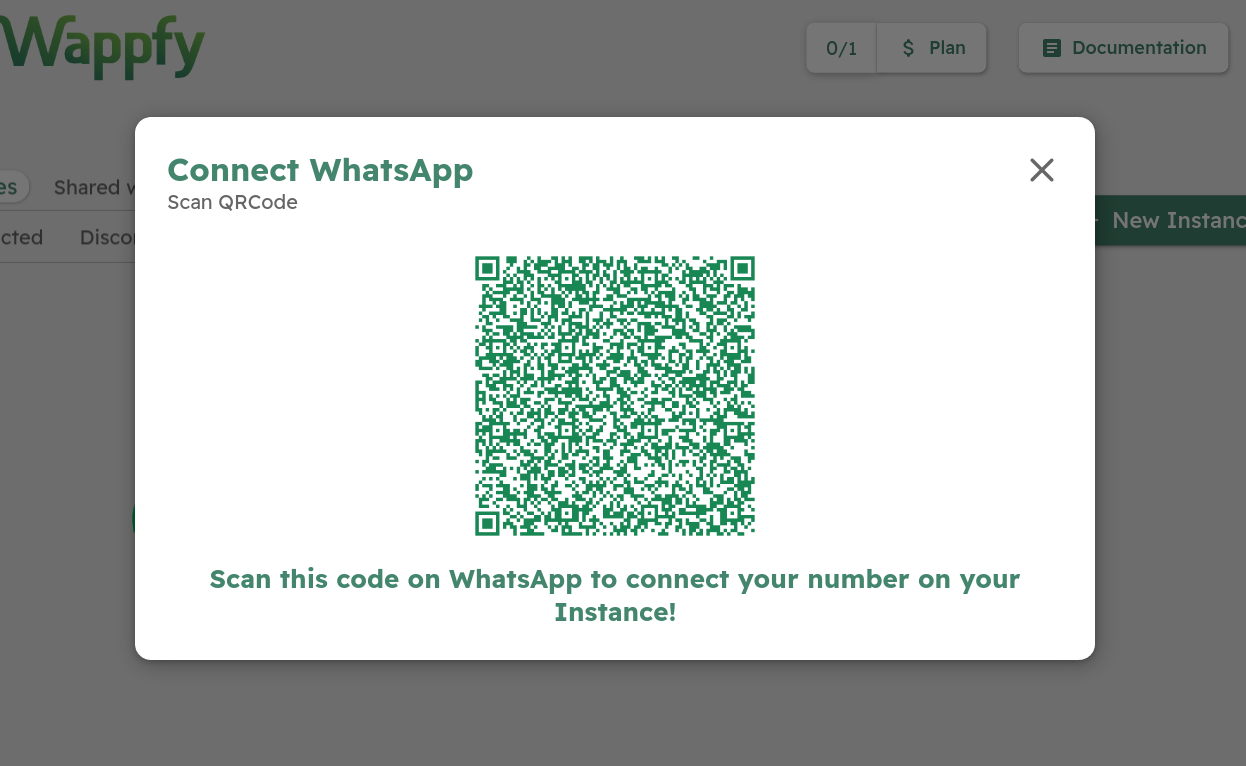
    Create an instance and connect your WhatsApp number.
    <Frame>
      <img width="330" src="https://mintcdn.com/stgcompany/TAy5IIm4Yq3mr8PO/en/assets/ghl/3_new_instance.png?fit=max&auto=format&n=TAy5IIm4Yq3mr8PO&q=85&s=f55a04fef385c48e354b08bcacf25a51" data-path="en/assets/ghl/3_new_instance.png" />

      <img width="400" src="https://mintcdn.com/stgcompany/TAy5IIm4Yq3mr8PO/en/assets/ghl/4_instance_name.png?fit=max&auto=format&n=TAy5IIm4Yq3mr8PO&q=85&s=0672f180cb71ada077d152f5a7cdbdc9" data-path="en/assets/ghl/4_instance_name.png" />

      <img width="380" src="https://mintcdn.com/stgcompany/TAy5IIm4Yq3mr8PO/en/assets/ghl/5_qr_code.png?fit=max&auto=format&n=TAy5IIm4Yq3mr8PO&q=85&s=39bc672182d79ee68d3689edf54cf6ab" data-path="en/assets/ghl/5_qr_code.png" />
    </Frame>
  </Step>

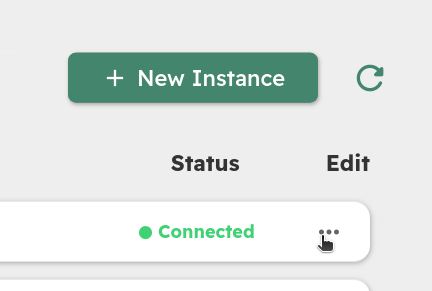
  <Step title="Integrate with GHL">
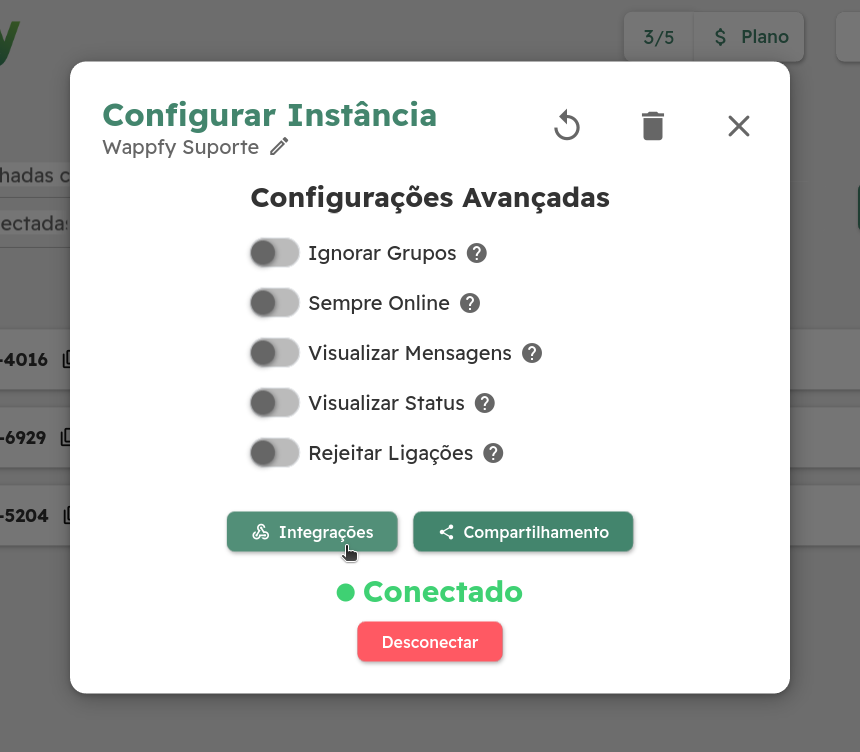
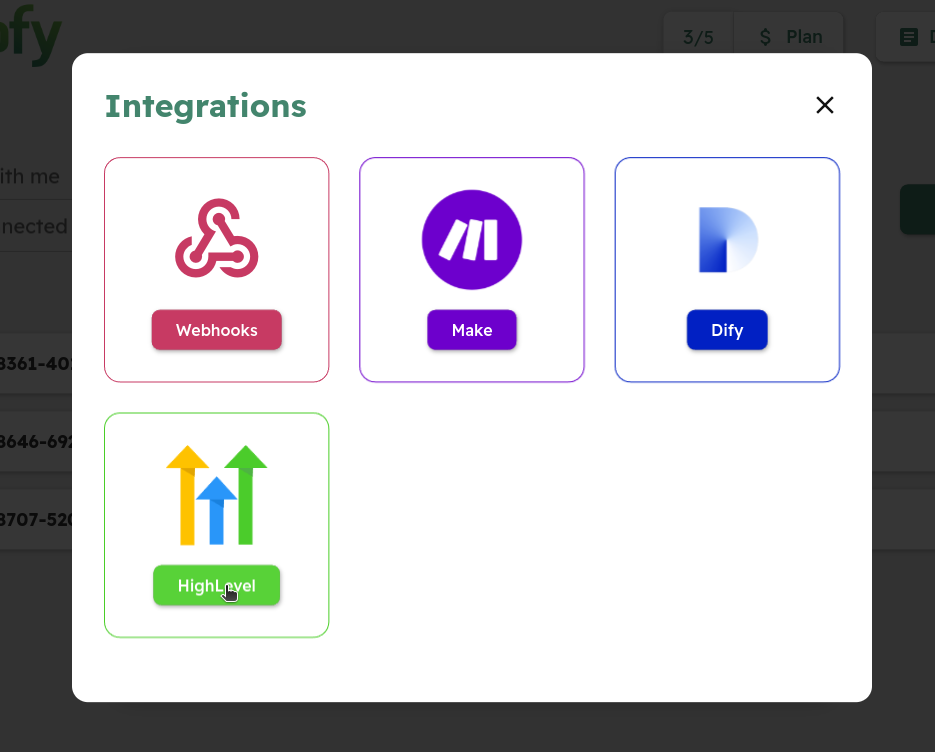
    Access the integrations tab, and click on GoHighLevel to authenticate with GHL.
    <Frame>
      <img width="350" src="https://mintcdn.com/stgcompany/TAy5IIm4Yq3mr8PO/en/assets/ghl/6_edit_instance.png?fit=max&auto=format&n=TAy5IIm4Yq3mr8PO&q=85&s=7197406f2f3ab34f445240b6dc810048" data-path="en/assets/ghl/6_edit_instance.png" />

      <img width="270" src="https://mintcdn.com/stgcompany/TAy5IIm4Yq3mr8PO/en/assets/ghl/7_config.png?fit=max&auto=format&n=TAy5IIm4Yq3mr8PO&q=85&s=86029797641ce51c2877fbcce3ef8edd" data-path="en/assets/ghl/7_config.png" />

      <img width="294" src="https://mintcdn.com/stgcompany/TAy5IIm4Yq3mr8PO/en/assets/ghl/8_integrations.png?fit=max&auto=format&n=TAy5IIm4Yq3mr8PO&q=85&s=68c5cf343554f1a7c6f07ce7dd33c861" data-path="en/assets/ghl/8_integrations.png" />
    </Frame>
  </Step>

  <Step title="Authenticate with GHL">
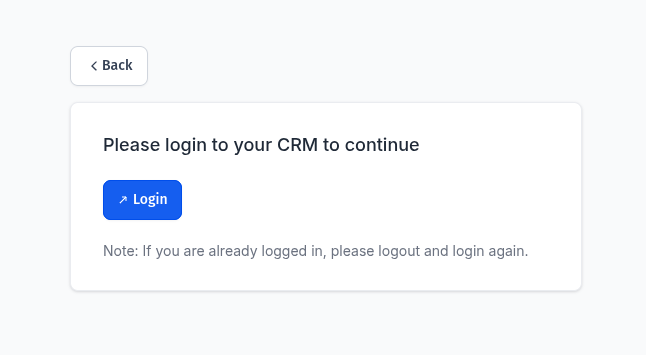
    I. You’ll be redirected to a new tab, where you can log into your GHL account if you aren’t already logged in.
    <Frame>
      <img width={true} src="https://mintcdn.com/stgcompany/TAy5IIm4Yq3mr8PO/en/assets/ghl/9_ghl_login.png?fit=max&auto=format&n=TAy5IIm4Yq3mr8PO&q=85&s=e41af1e0dbc89671acbb1fb2d84c0eea" data-path="en/assets/ghl/9_ghl_login.png" />
    </Frame>

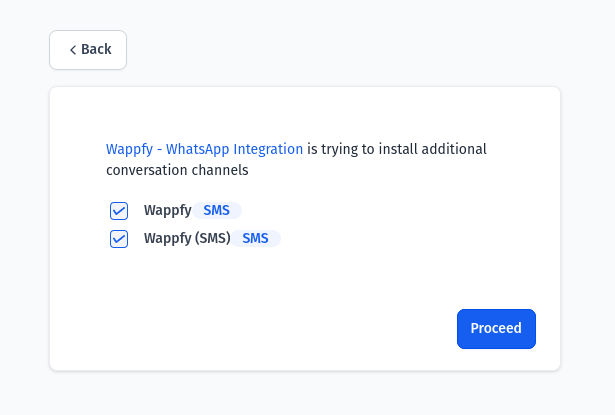
    II. Select your account (Sub-Account) and install Wappfy on it.
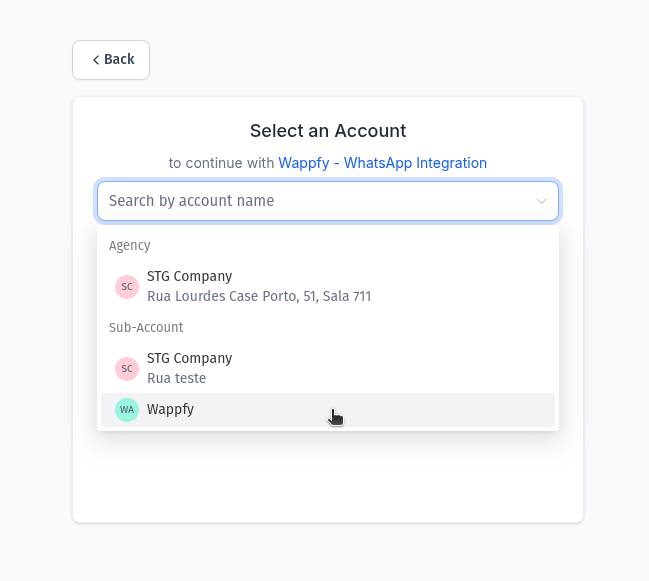
    <Frame caption="Here you can deselect the &#x22;Wappfy&#x22; option and leave only &#x22;Wappfy (SMS)&#x22; if you only want to use Wappfy through the SMS channel, without another tab called &#x22;Wappfy&#x22; on GHL message input field.">
      <img width="300" src="https://mintcdn.com/stgcompany/TAy5IIm4Yq3mr8PO/en/assets/ghl/10_ghl_select_account.png?fit=max&auto=format&n=TAy5IIm4Yq3mr8PO&q=85&s=fff6eeaef935e49371ed3856b0074e5f" data-path="en/assets/ghl/10_ghl_select_account.png" />

      <img width="398" src="https://mintcdn.com/stgcompany/TAy5IIm4Yq3mr8PO/en/assets/ghl/11_ghl_install_wappfy.png?fit=max&auto=format&n=TAy5IIm4Yq3mr8PO&q=85&s=743bb36f9b49287360ba08691747eaca" data-path="en/assets/ghl/11_ghl_install_wappfy.png" />
    </Frame>

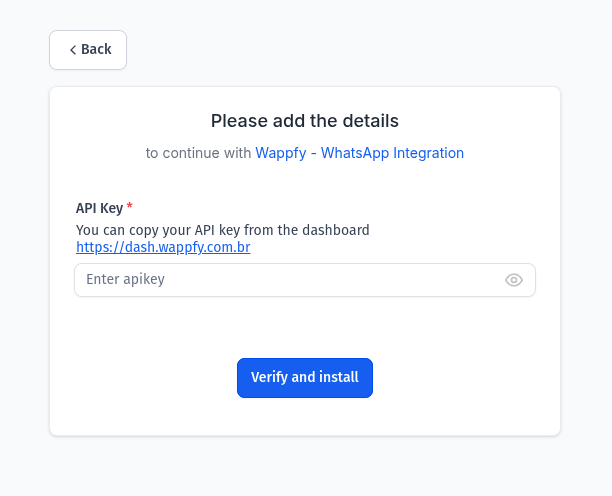
    III. Copy the API Key and InstanceName of your created instance from the Dashboard and paste them into GHL.
    <Frame>
      <img width={true} src="https://mintcdn.com/stgcompany/TAy5IIm4Yq3mr8PO/en/assets/ghl/12_ghl_wappfy_credentials.png?fit=max&auto=format&n=TAy5IIm4Yq3mr8PO&q=85&s=eb13de2e7d81edd9ed31087c3ee2010d" data-path="en/assets/ghl/12_ghl_wappfy_credentials.png" />
    </Frame>
  </Step>

  <Step title="Finish Integration">
    Our system will confirm the integration with GHL.
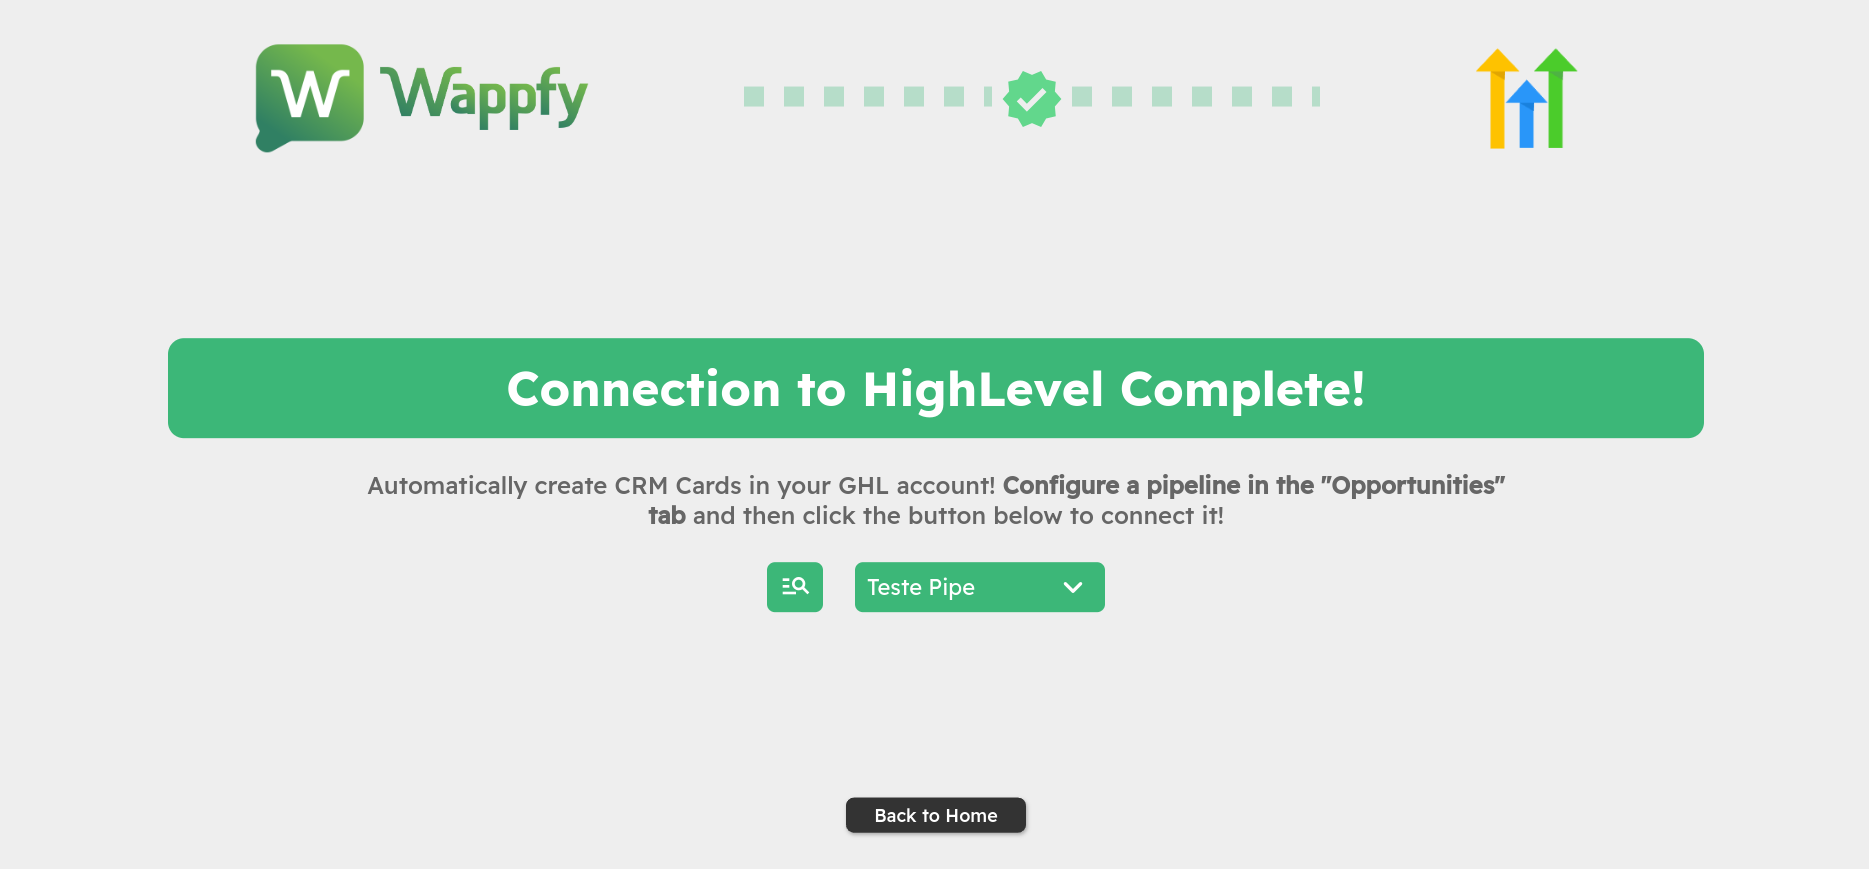
    <Frame caption="Here you can also set up a CRM pipeline created in the &#x22;Opportunities&#x22; tab of your GHL account. This way, you’ll have automatic card creation in the CRM for each new contact from Wappfy.">
      <img width={true} src="https://mintcdn.com/stgcompany/TAy5IIm4Yq3mr8PO/en/assets/ghl/13_connection_succeded.png?fit=max&auto=format&n=TAy5IIm4Yq3mr8PO&q=85&s=48175920b682ad30dba3f6a7896a00c2" data-path="en/assets/ghl/13_connection_succeded.png" />
    </Frame>
  </Step>

  <Step title="Set Wappfy as SMS Provider">
    <Info>
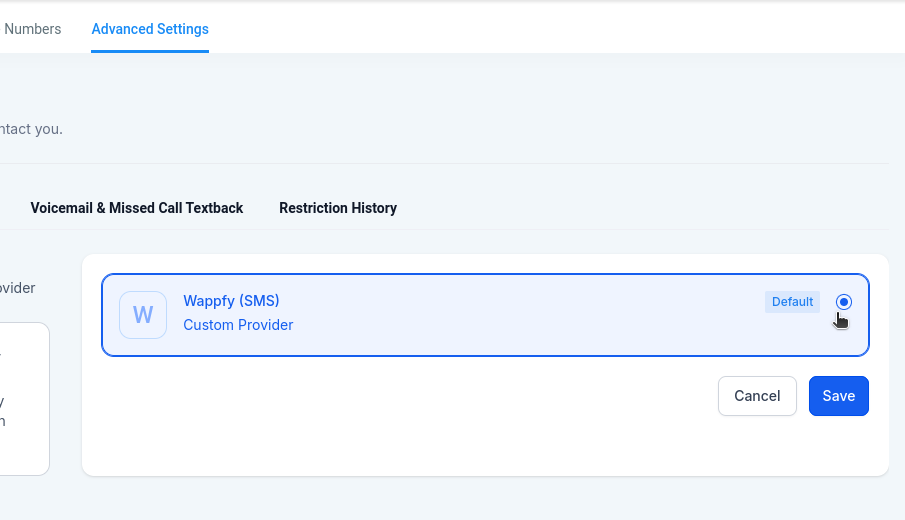
      For the integration to work 100%, you will need to activate Wappfy as the default SMS provider for your GHL sub-account..
    </Info>

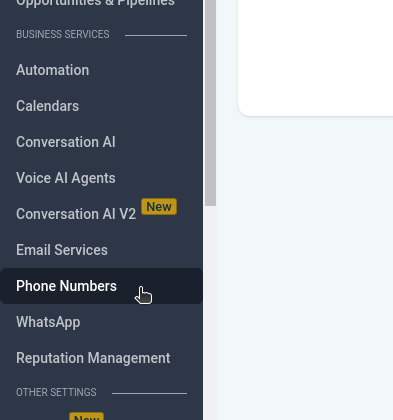
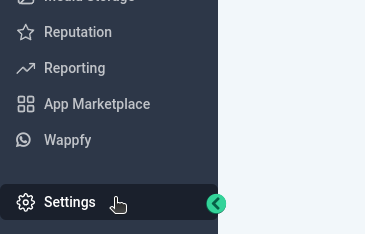
    I. Go to your GHL account **Settings** and click on **Phone Numbers**.
    <Frame>
      <img width="300" src="https://mintcdn.com/stgcompany/TAy5IIm4Yq3mr8PO/en/assets/ghl/14_ghl_settings.png?fit=max&auto=format&n=TAy5IIm4Yq3mr8PO&q=85&s=3da54396d667a5d42a325849b7f1e3c0" data-path="en/assets/ghl/14_ghl_settings.png" />

      <img width="200" src="https://mintcdn.com/stgcompany/TAy5IIm4Yq3mr8PO/en/assets/ghl/15_phone_numbers.png?fit=max&auto=format&n=TAy5IIm4Yq3mr8PO&q=85&s=4a07e40f02cc0a60ea3ba0327117ab50" data-path="en/assets/ghl/15_phone_numbers.png" />
    </Frame>

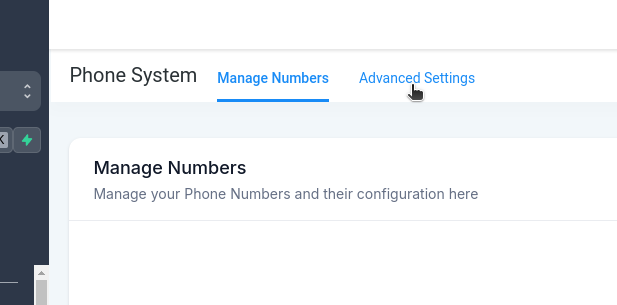
    II. Click on **Advanced Settings** and select Wappfy as your SMS provider, clicking on **Save** (even if it is already selected).
    <Frame>
      <img width="300" src="https://mintcdn.com/stgcompany/TAy5IIm4Yq3mr8PO/en/assets/ghl/16_advanced_settings.png?fit=max&auto=format&n=TAy5IIm4Yq3mr8PO&q=85&s=e17bda159d1d649234684786d325dcf5" data-path="en/assets/ghl/16_advanced_settings.png" />

      <img width="258" src="https://mintcdn.com/stgcompany/TAy5IIm4Yq3mr8PO/en/assets/ghl/17_select_wappfy.png?fit=max&auto=format&n=TAy5IIm4Yq3mr8PO&q=85&s=5aca147116ef9969eb65af72394c5037" data-path="en/assets/ghl/17_select_wappfy.png" />
    </Frame>
  </Step>

  <Step title="Finished!">
    <Check>
      Once done, you’ll be able to respond to your clients through GHL and have control over all conversations conducted via WhatsApp.
    </Check>
  </Step>
</Steps>

## Bonus

<Steps>
  <Step title="GHL Connection Settings">
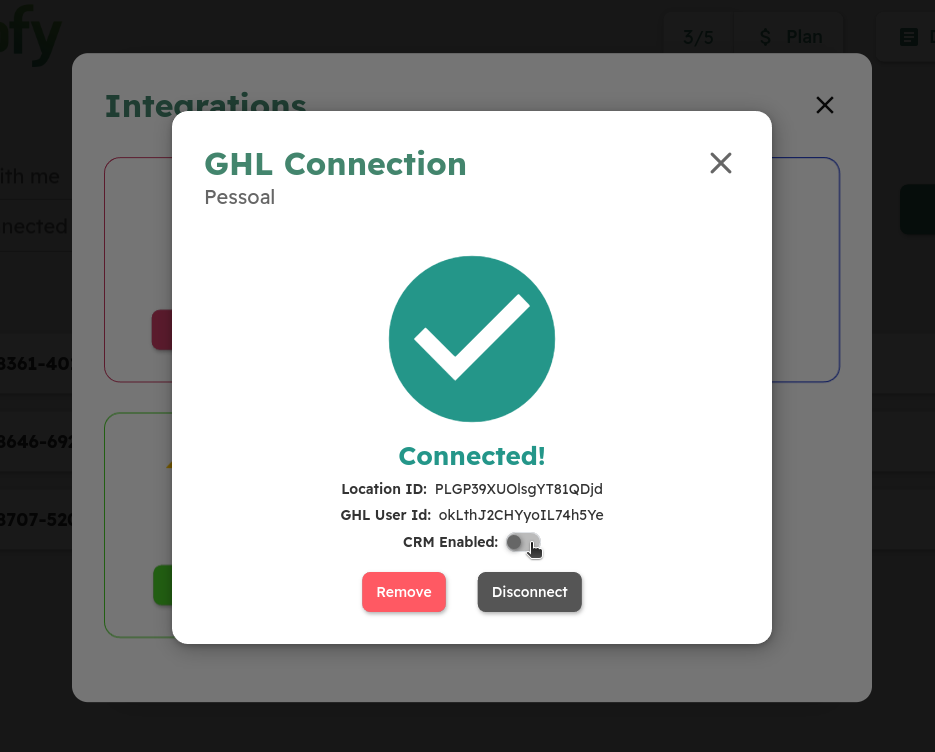
    <Frame caption="Within the integration panel of your instance, you can manage your connection/integration with your GHL sub-account.">
      <img width={true} src="https://mintcdn.com/stgcompany/TAy5IIm4Yq3mr8PO/en/assets/ghl/19_connected.png?fit=max&auto=format&n=TAy5IIm4Yq3mr8PO&q=85&s=41f06a721d2f938cdac64f94d7b829f4" data-path="en/assets/ghl/19_connected.png" />
    </Frame>
  </Step>

  <Step title="Workflow Premium Actions">
    <Frame caption="While you can use GHL standard SMS messages to work with Wappfy, you can also use our premium actions to send custom messages.">
      <img width={true} src="https://mintcdn.com/stgcompany/TAy5IIm4Yq3mr8PO/en/assets/ghl/20_premium_actions.png?fit=max&auto=format&n=TAy5IIm4Yq3mr8PO&q=85&s=b72cb75c6a887e0cba9ba75868e3efc2" data-path="en/assets/ghl/20_premium_actions.png" />
    </Frame>
  </Step>
</Steps>